这个用来让程序链接指定的glibc,调试必备的。
先下载两个工具:
#Patchelf
git clone https://github.com/NixOS/patchelf

#glibc-all-in_one
git clone https://github.com/matrix1001/glibc-all-in-one
我创建了glibc目录,把两个工具放在里面

首先:
./update_list             #更新最新版本的glibc
cat list                 #查看可下载的glibc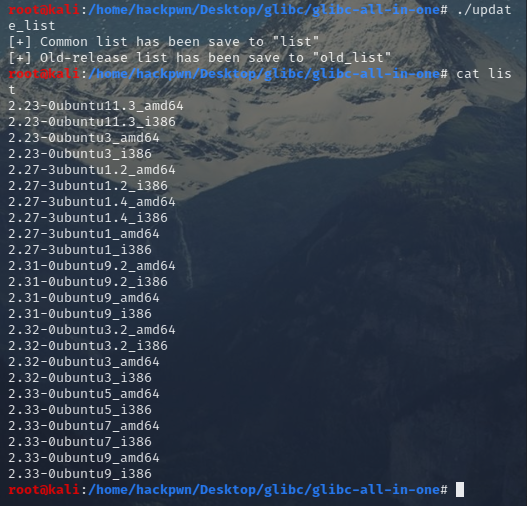
再根据题目所给的 libc ,找对应版本的连接器
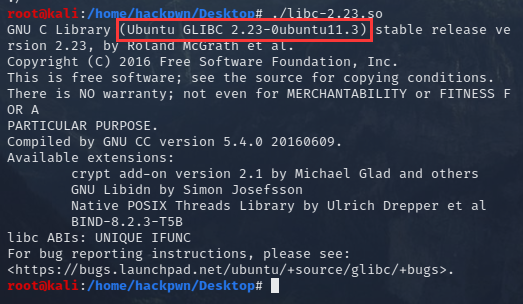
下载该连接器:
./download 2.23-0ubuntu11.3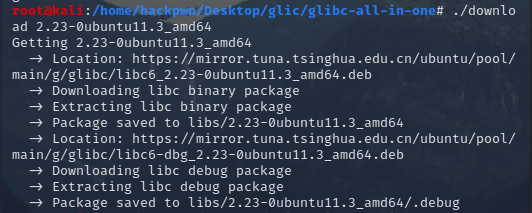
下载好的libc就在libs目录下
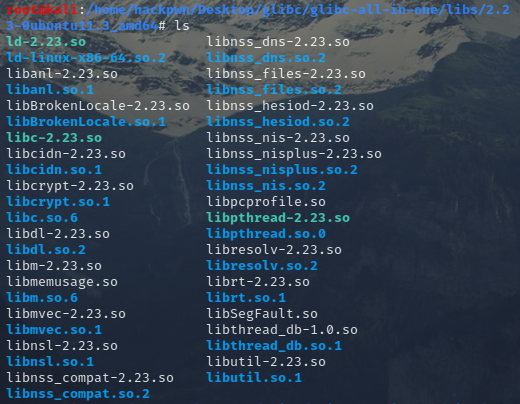
然后把ld文件和libc复制到pwn题目录下
cp ./ld-2.23.so ../../../../tmp/
cp ./libc-2.23.so ../../../../tmp/
接下来使用Patchelf
./bootstrap.sh
./configure
make
sudo make install
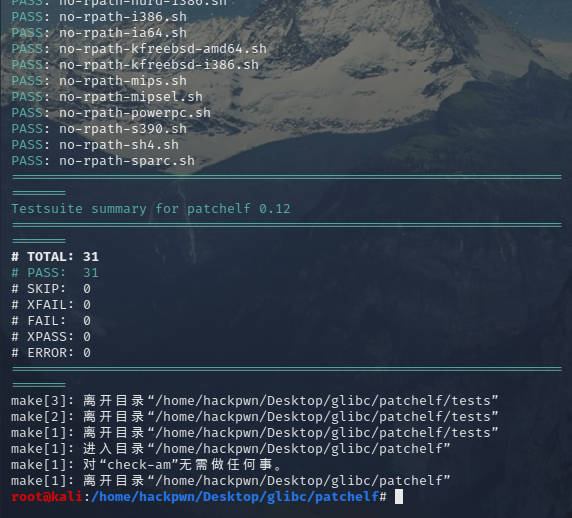
make check
缺了autoreconf
apt-get install autoconf automake libtool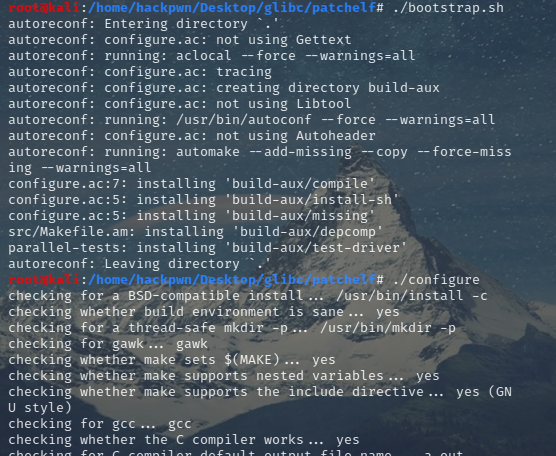
完成
查看题目原来的 libc 和 ld
ldd easyheap
替换libc
patchelf --replace-needed libc.so.6 ./libc-2.23.so ./easyheap
设置ld文件
patchelf --set-interpreter ./ld-2.23.so ./easyheap
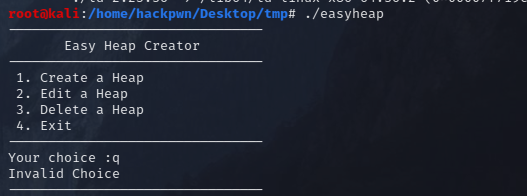
正常执行
gdb调试
直接整会出问题
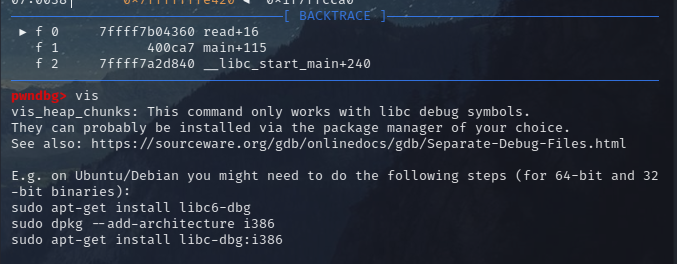
有设置一下符号表和将.debug,移动到题目的同级目录下两个办法
set debug-file-directory /home/hackpwn/Desktop/glibc/glibc-all-in-one/libs/2.23-0ubuntu11.3_amd64/.debug在gdb里面设置调试符号表,路径在libs里面

heap,bins,vis等正常执行
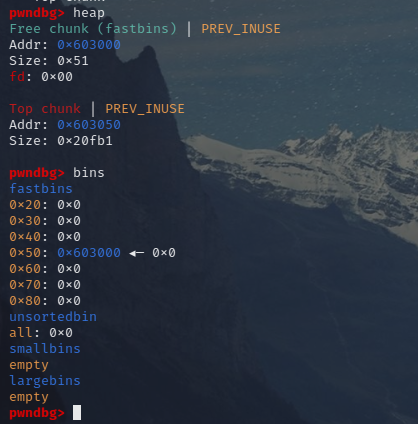
pwntools中gdb调试
只能是将.debug,移动到题目的同级目录下
mkdir .debug
cp /home/hackpwn/Desktop/.../.debug/* ./
亲测有效
